çV. Install & Run
Last update 2003/10/29
Install
Please downloadTOMSCOP.zip(In canpas only) and decompress
Launch Eclipse(If your PC's power is low, please read here)
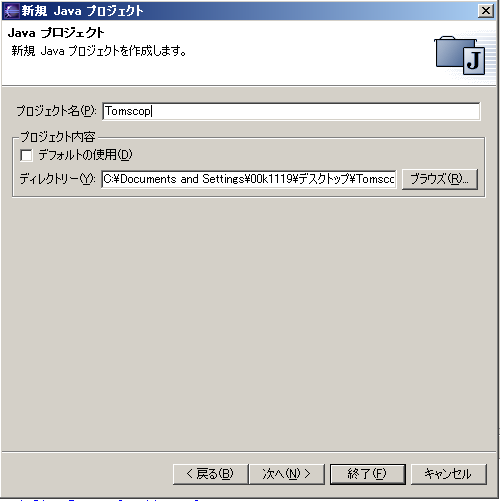
FileüĘNewüĘProjectüĘSelect JAVA and NextüĘClick default check box
üĘClick Browse and select Tomscop folder which decompressedüĘInput Project name and select Next
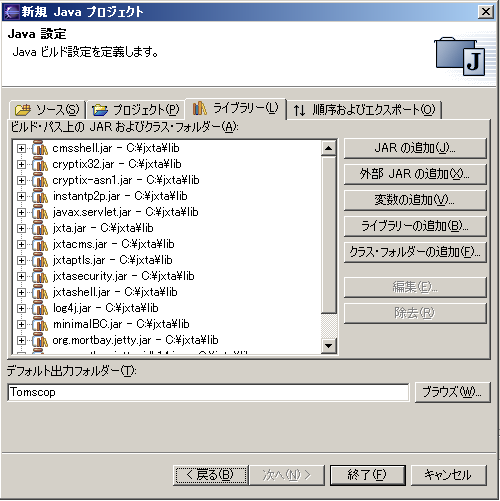
üĘLibraryüĘSelect Add Extarnal JARüĘSelect all jar file at C:\jxta\lib(The position JXTA installed \lib) and Finish(F)
Finally you can launch TOMSCOP using Eclipse
Run
In the case run TOMSCOP first time
Running personüĘSelect RunüĘDouble click Java Application at Structure
Click browse and will show project name.Next, click search and dialog will show tomscop.Tomscop

Click Run button. In the case run tomscop first time and not exist .jxta folder, JXTA Configurator will launch
If you can run a time, next only clicking running person icon launch TOMSCOP
JXTA Configurator
When we run JXTA application first time, JXTA configuration window will appear.
In this window registry a peer name, password and rendezvous peer IP address
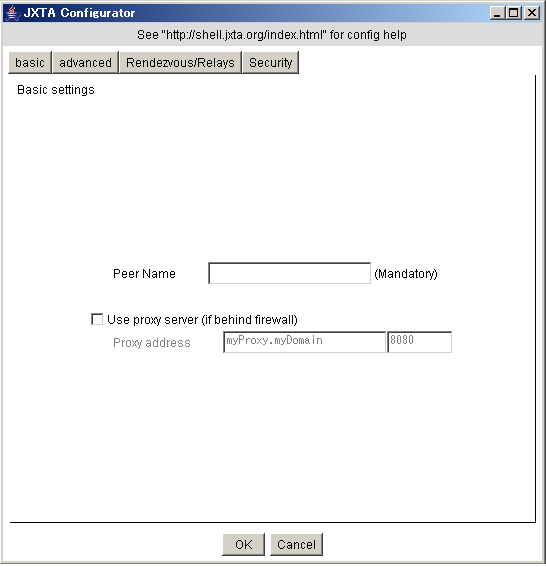
First,setting a peer name and password in basic and security tab
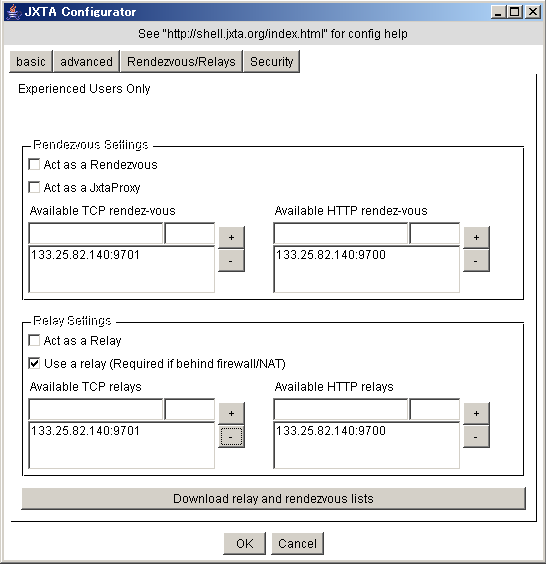
Please input 133.25.82.140 at Rendezvous/Relay tab like below.
And input 9701(TCP)or 9700(HTTP) in the short textfield and push + button.
Please check Use a relay(Required if behind firewall/NAT) at Relay Settings(under)
Click OK button and TOMSCOP launch
Copyright(c) 2003 Tomomi Kawashima All Rights Reserved.